How to Assist Clients With Account Activation as an Administrator
If an organisation receives a query from a client, who has difficulties activating their Easy Payments Plus account, please follow the steps below:
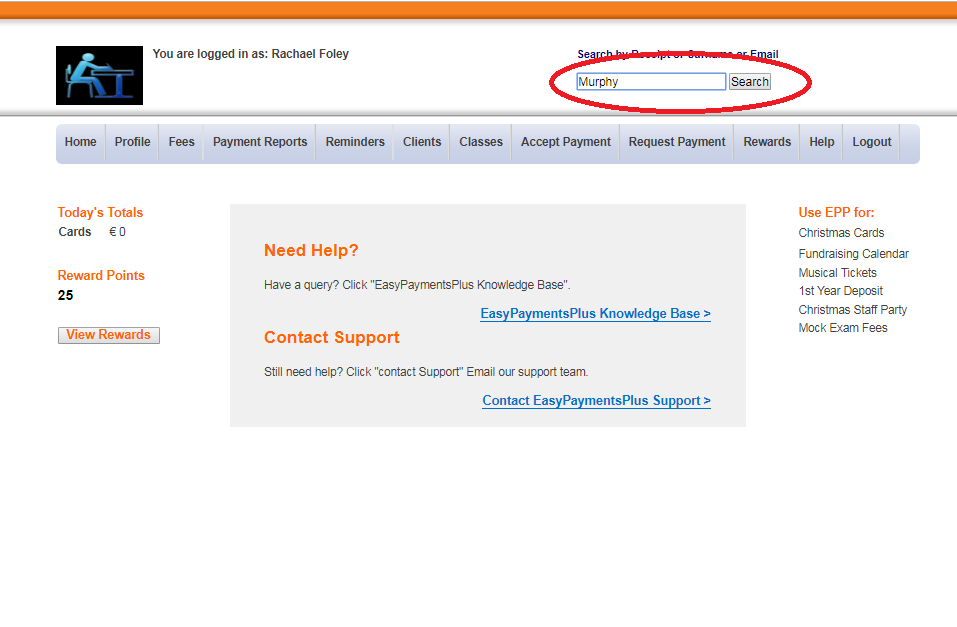
Step 1: Search for the client's surname using the 'Search Facility' at the top right-hand corner of the screen.
Step 2: Check that the mobile number, email address and surname are recorded on the system.
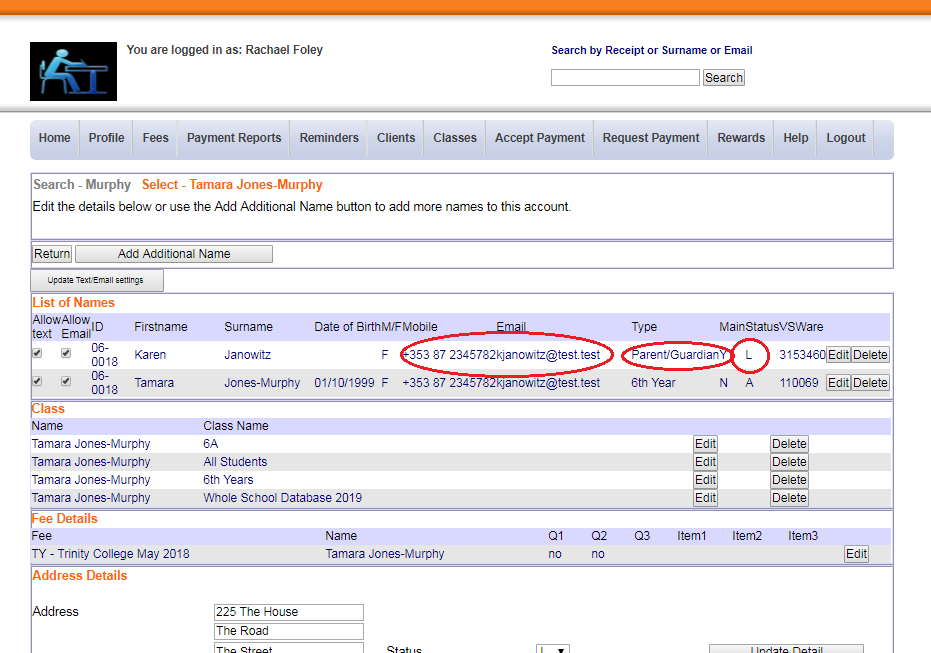
Step 3: Confirm these exactly match what the client is inputting during their activation.

If these details don't match, edit the client's details on your EPP system, if required, and ensure that this update is also recorded on any separate database that may be relevant to EPP, e.g. a student's details with this parent as their main contact.
Step 4: Check the account has a status of L (for Loaded).
If the status isn't L, then the status will be A. This means that the client has already activated their account and they should be advised to simply login with their email address and password. When logging in, they can click Forgot or Change Password if necessary.
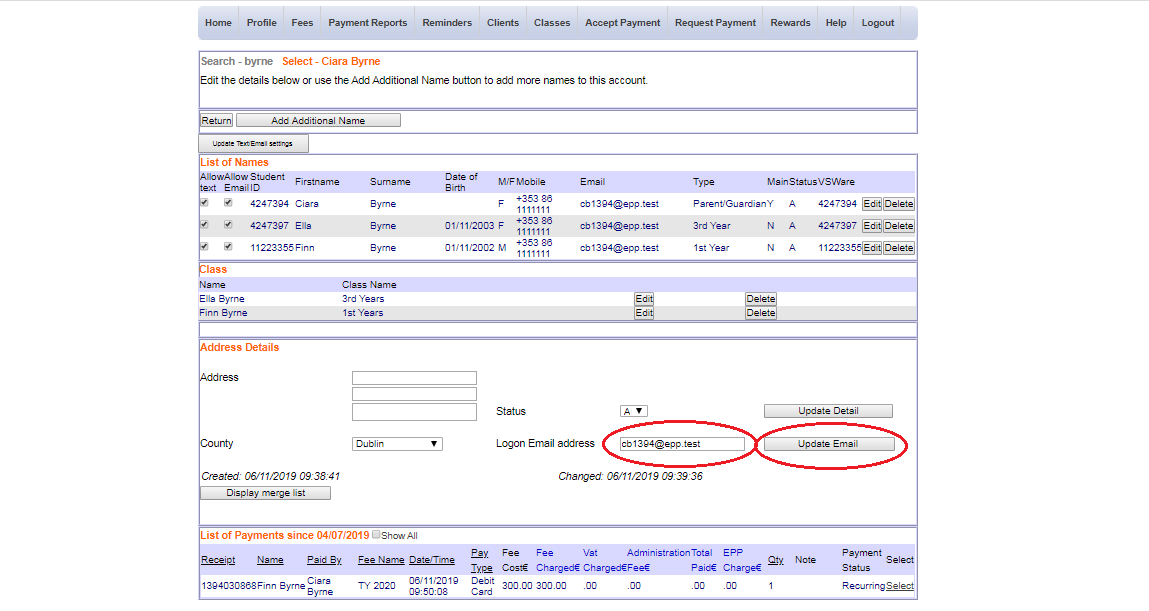
If the status is L, as an administrator, you can activate their pre-loaded client account by email. See the article below for further information.
How to Activate a Pre-loaded Client Account by Email as an Administrator

If the client's account is loaded, there will be no email displayed in the logon email address field. Type in the email address the client wishes to use when logging in, and click Update Email. The client will then be emailed the final steps to activate their EPP account. Once they activate their account, their status will be changed from L to A.
What is the 'Search Facility'?
This facility allows you to view or maintain a client's (e.g. parent/member/pupil) data and payment history on the same screen. This can be achieved by searching the surname, receipt number or email address of the client. The 'Search Facility' is located at the top right-hand corner of your screen.